


Homebrew: Make a Yeast Starter
 Story by:
Philip Joyce
Story by:
Philip Joyce
I’m a huge advocate of the brewers’ saying that “Brewers make wort and yeast make beer.” Without healthy yeast, you cannot make the best beer possible. So step up your homebrew game with a yeast starter and improve your next batch of homebrew!
In a previous post I mentioned the importance of taking care of your yeast. I truly believe that if you take care of your yeast and treat it well, it will treat you well in return by making a great beer. So, what are ways to take care of your yeast? First off, yeast are living organisms and they should be treated so. Are you going to leave your dog in the backseat of your car in the sun while running around town and doing other errands? Probably not. Whether you use dry or liquid yeast (either in the form of White Labs vials or WYeast Smack Packs) it should always be refrigerated until you’re ready to use it. Over time, yeast will degrade and its viability, or ability to convert sugars into alcohol, will decrease. All yeast packages are dated with a use by or manufactured date. When purchasing yeast, try and get the freshest yeast possible.
How much yeast should you pitch? The general rule of thumb that I use is that you should pitch 1 million cells per milliliter per degree plato of wort for ales and 1.5 million for lagers. 1 degree plato is about 4ppg points, so a 1.040 OG beer is ~10 plato. So if you’re making a 5 gallon batch of 1.040 OG blonde ale, you’ll need about 150 billion viable yeast cells. Seems like a lot right? Well both White Labs vials and WYeast Smack Packs claim to hold 100 billion cells per pack. So for good measure, pitch 2 vials or smack packs. You can see as your beers increase in OG, the yeast required increases. If you’re making a REALLY big beer (think OG > 1.1) this pretty much goes out the window, ratios upwards of 5 million cells/ml/plato should be used. Too much math for you? This is a great resource.
So you’re buying your ingredients for your next homebrew- a 1.068 OG double IPA, so the math or tool above recommends 3 liquid yeast packages. At $6 to $7 a piece, this can get expensive in a hurry. My suggestion, get a stir plate and always make a starter. Using a starter gets your yeast out of its dormant state and ready to ferment your beer. In general, you want your starter wort to have an OG of 1.030 to 1.040, low enough not to shock your yeast, but just enough to get your yeast active. I mix 1/2 cup of dry malt extract (I like to use the lightest color possible to not alter the color of my final beer, so I go with extra light or pilsen light) into 2 cups of water, and bring it to a boil for 15 minutes. Transfer your saucepan to an ice bath in the sink and cool until you reach your standard ale pitching temperature (68-72F) and pitch your yeast and starter wort into a sanitized container. Ball jars work well for this but I prefer an Erlenmeyer flask. Cover with sanitized foil tightly and let sit for 24-48 hours before pitching the whole starter directly into your beer. So you want to take your game to the next level, get a stir plate. Not only will your yeast starters be healthier but you get to feel like a mad scientist. Whether you’re a DIY genius or looking to buy a stir plate I think that Stir Starters is a great place to start.
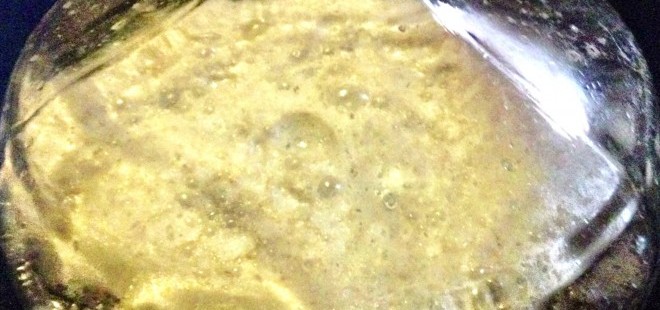
Once you master making yeast starters, you can also take the dregs of some of your favorite bottle conditioned beer and pitch the yeast slurry from the bottom of the bottle right into a starter and propagate it up! This allows you to use special yeasts that may not be readily available or cultured by one of the big yeast suppliers I listed above. I currently am propagating yeast from a 2010 Cantillon Kriek as well as yeast from Lost Abbey Red Poppy Ale. Here’s how they are doing.

![IMG_0691[1]](https://porchdrinking.com/wp-content/uploads/2013/05/IMG_06911-1.jpg)


Comments 0
No Readers' Pick yet.