

Anniversary of Homebrew Legalization | October 14
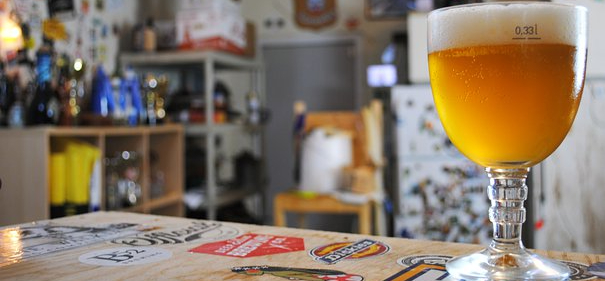
Raise a glass and be thankful, for October 14 is the anniversary of homebrew legalization! In what arguably launched the craft beer movement, President Jimmy Carter signed HR1337 on October 14, 1978, allowing adults to annually brew up to 100 gallons of beer.
The Long Shadow of Prohibition
Like many of the bizarre regulations surrounding alcohol, the homebrewing ban traced its history back to the dark days of Prohibition. In 1933 the 21st amendment repealed Prohibition but left out wording that would have legalized homebrewing. This is despite the fact that home winemaking was permitted.
Unbelievably, it took 45 years for homebrewing to gain equal treatment.
All Beverages Are Created Equal
Finally, in 1978, Sen. Alan Cranston and Rep. William Steiger saw an opportunity to level the playing field for beer. HR1337 initially dealt with transportation taxes and probably generated little interest outside of transit geeks. The two took the sober little bill and introduced Amendment 5354 to let homebrewers join the party.
Amendment 5354 permitted each adult to brew up to 100 gallons of beer per year or 200 gallons per household. It also exempted homebrew from excise taxes.
Homebrew Interest Drives Craft Beer Explosion
Over the next several decades, homebrew enjoyed a slow and steady climb. Initially many states had their own restrictions or prohibitions on homebrewing but over time most of those barriers were dropped. A steady stream of people discovered the joy of creating beer at home and homebrew shops began popping up to satisfy demand.
This momentum brought us to the current golden age of craft beer. Many industry pioneers gained inspiration during this period and honed their recipes at home before opening some of the original craft breweries.
While President Carter may be a relatively forgettable chief executive for most people, we all owe him a debt of gratitude for the gift of craft beer.
Want to Give it a Try?
For aspiring home brewers, we’ve created the guide below to offer a quick introduction into the craft. It’s really not very difficult, and nothing beats sipping a flavorful craft brew that you made yourself!
Basic Requirements
Virtually every home in the US has the minimum requirements for a successful brew. The only hard requirements are a stove big enough to boil five gallons of water and a place to store the wort between 68 and 72 degrees Fahrenheit while it’s fermenting.
Equipment
Now that you’ve verified you have the two basics, it’s time to get the proper equipment. Local homebrew stores typically have starter kits with all the equipment you need to brew and bottle a five-gallon batch of beer. Some even have one-gallon kits for those with commitment issues.
The most basic five-gallon kits usually sell for $150, give or take, with the possibility of upgrades. Pricing differences come down to things like quality of equipment and ease of use. For example, glass components vs. plastic.
Homebrew Shops Can Help
The best thing about shopping local for your setup is the confidence boost. Let the staff know you’re just jumping into the game. They’ll be happy to answer questions and provide pro tips for newbies, which will go a long way to raising morale for a great first brew.
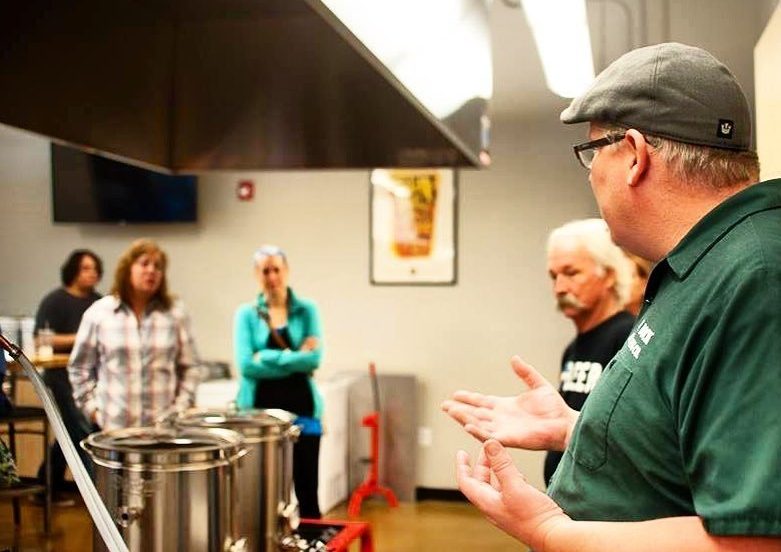
If you don’t have ready access to a homebrew store, online sellers would be happy to drop a kit at your door. However that means a few days longer ’til your first sip.
What Else?
Pay close attention to the contents list of your kit, especially if buying online. Most include a small amount of cleaner/sanitizer but you will likely need to buy more to get from boil to bottling. Also, many kits expect you to buy bottles, caps and sometimes a capper separately. Finally, most kits assume you will have a stockpot big enough for at least eight gallons of liquid.
Beer Styles
Now that you have the setup, what to brew? Certain styles lend themselves to new brewers better than others.
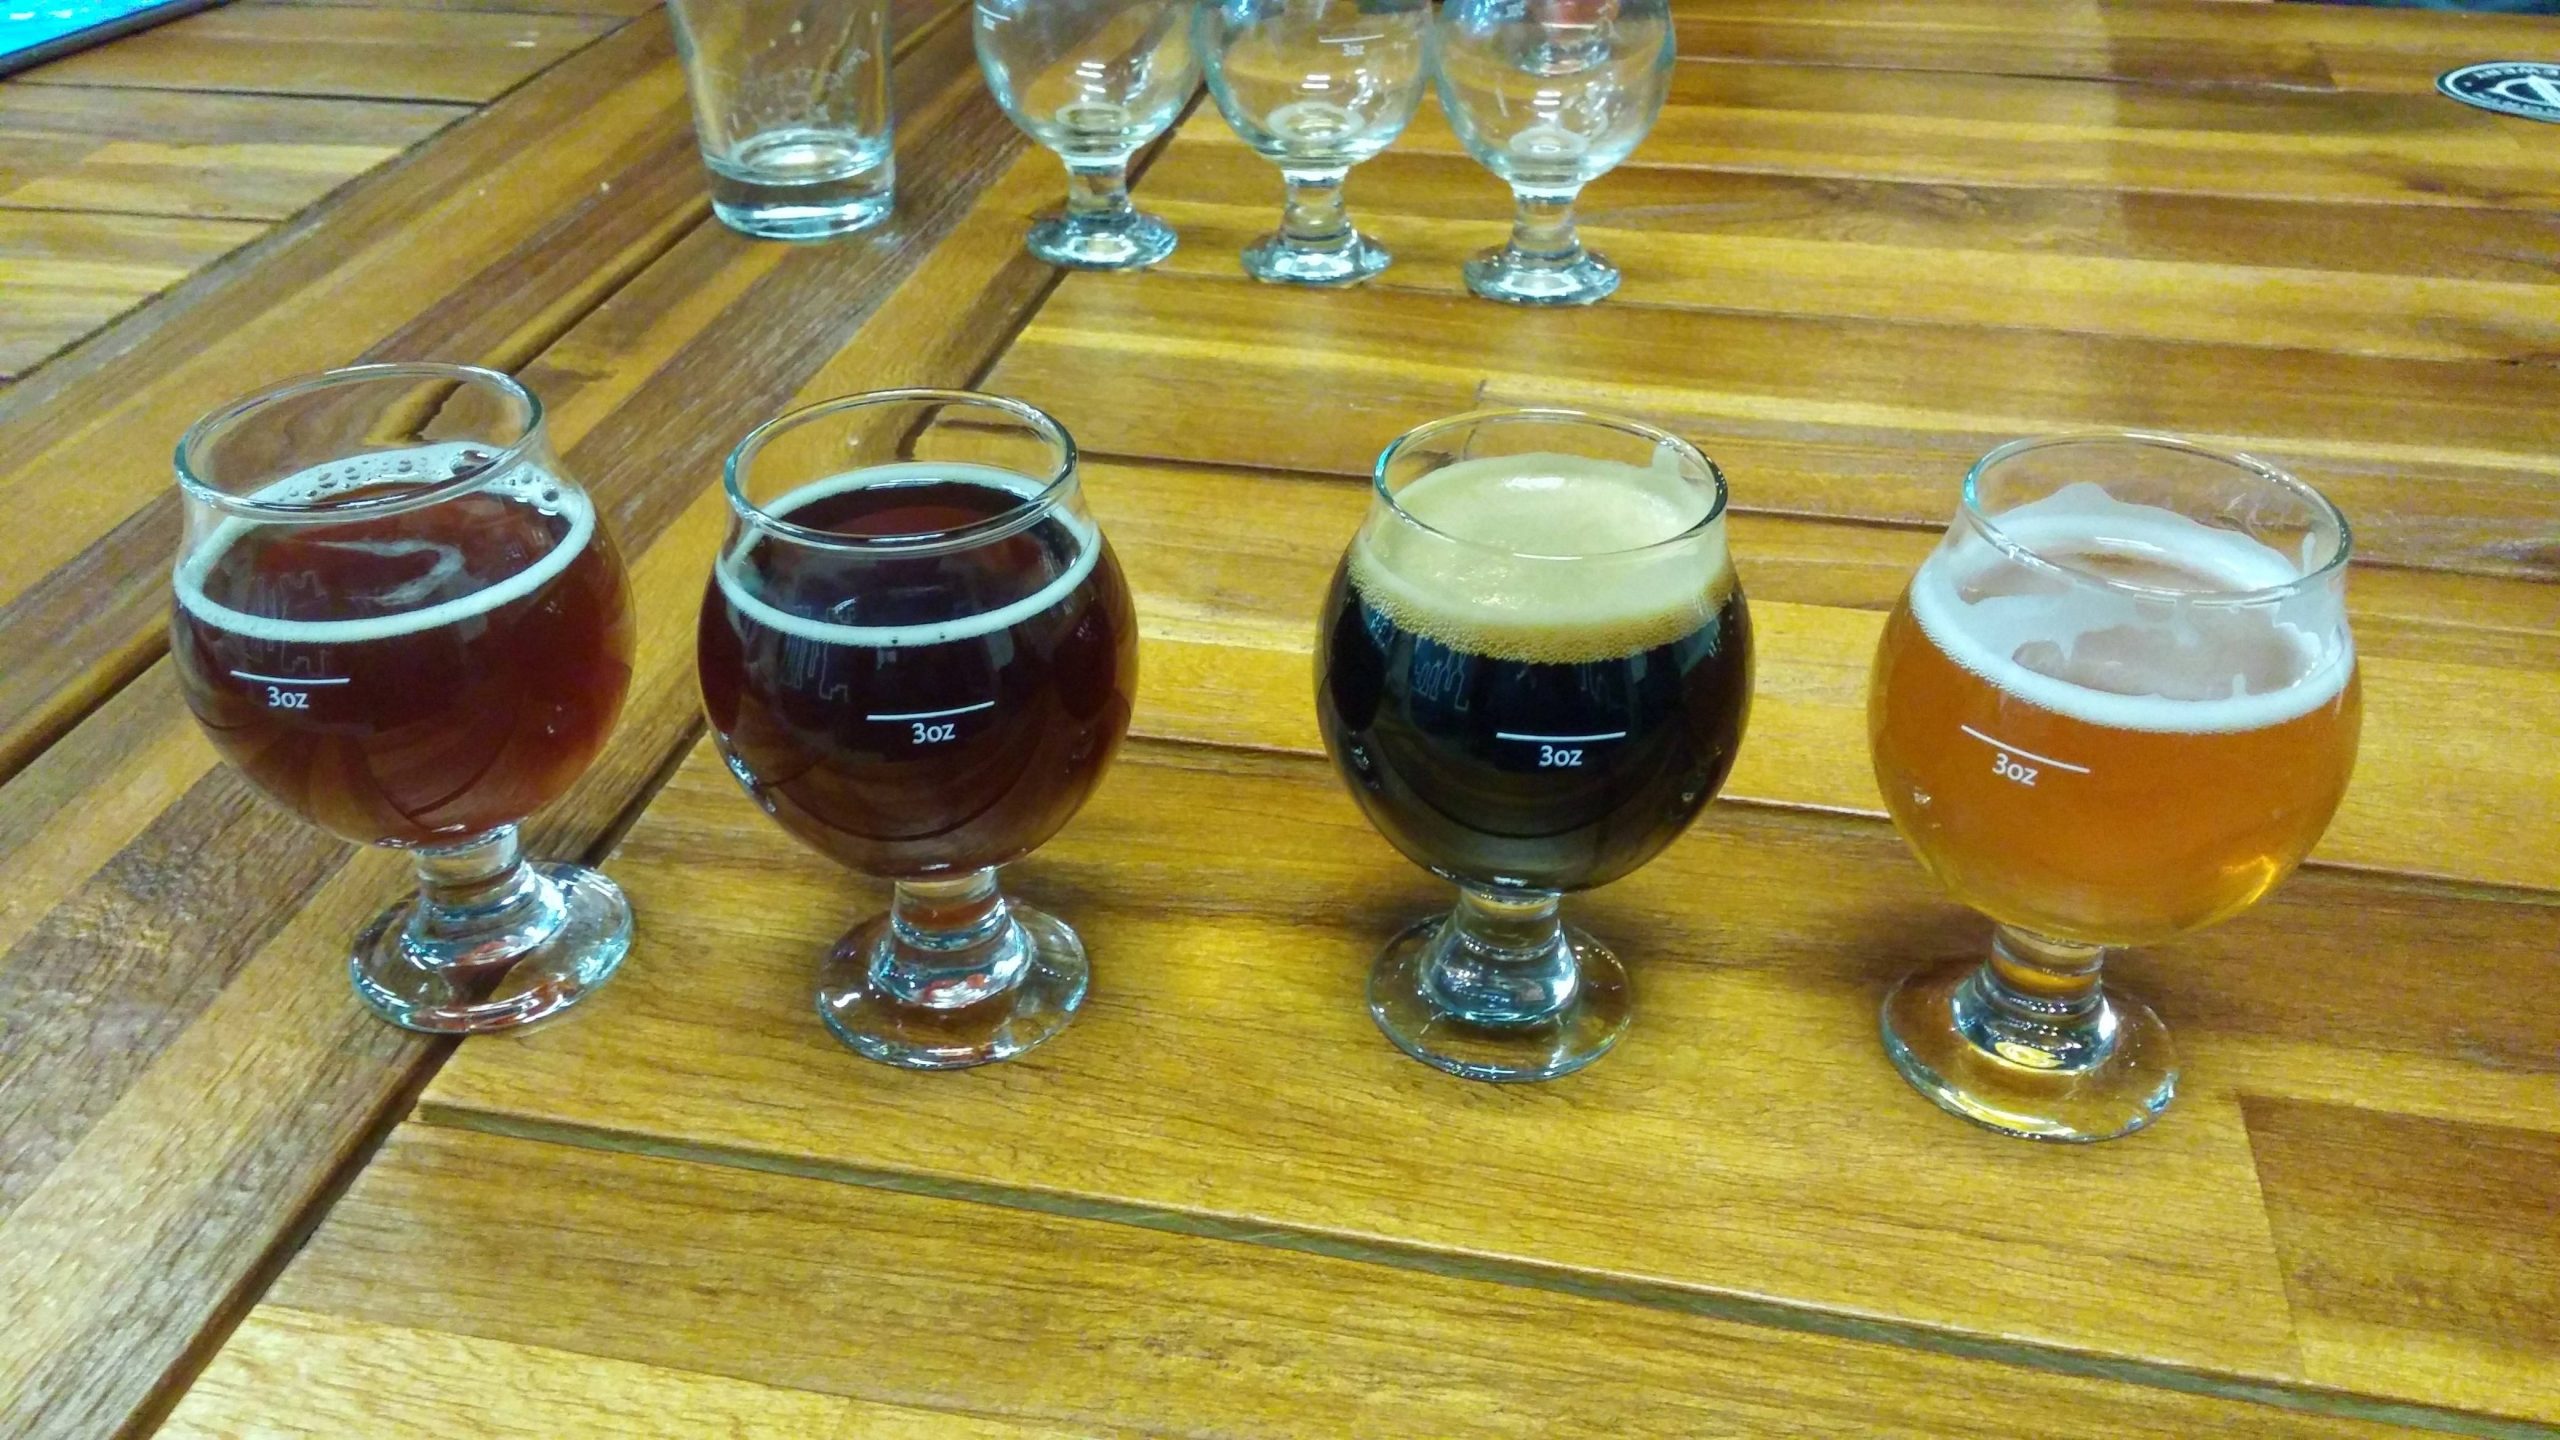
Ales ferment at warmer temperatures, usually within the range found in most homes. Lagers require lower temperatures that must be supported with additional chilling equipment. Sorry lager-lovers, but ales are probably the best choice for beginners. Best to keep it simple at first.
No need for disappointment, though—the world of ales is plenty big. It includes tasty brews like Wheat Beers, Pale Ales, Bitters, Porters, Stouts and most Belgians styles. Additionally, you may want to choose a beer with stronger flavors to help mask any “mistakes” on your first try.
Ingredients
Your easiest path here is a pre-packaged ingredient kit. Typically this means a box packed with everything you need to make a beer start to finish. Typical kits include liquid or dry malt extract, hops, grains, yeast, priming sugar and a grain steeping bag. Kits are packed by generic style — for example American Wheat — or as clones of commercial beers such as Pliny the Elder.
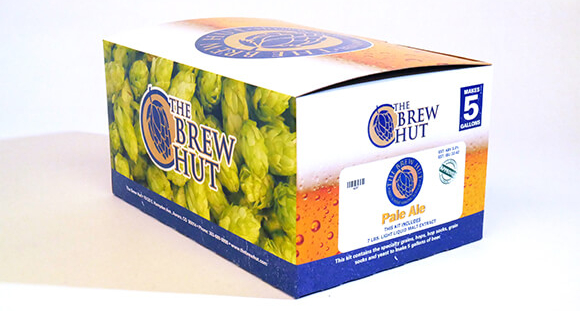
For the style of beers we’re targeting prices will be in the $35-60 range. Definitely go for an extract kit on your first try.
Much like equipment, carefully read the ingredients list for additional required items. Again, your local homebrew store will be your best resource to make sure you’re ready to hit the ground running.
The Process
You’ll need to allocate at least three hours on brew day for setup, brewing, and cleanup. The rough outline for brewing any malt extract beer are pretty much the same. Follow the kit recipe closely for any additional steps or different timing.
1) Clean and sanitize everything! Nobody likes an infected beer.
2) Steep and boil grains for a combined time of approximately 1.5 hours. Add malt extract and hops at one or more points during the boil.
3) Cool the liquid (called wort) and move into a fermenter.
4) Pitch (add) the yeast and store at approximately 70 degrees
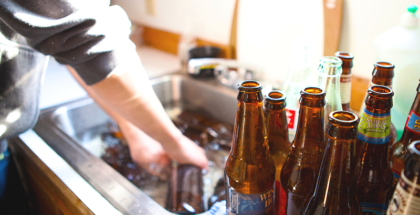
5) After about two weeks, it’s ready to bottle.
6) Siphon the beer into bottles along with priming sugar, cap them and let them sit for another week or so.
Congratulations, you’ve made beer! Now all you need is a bottle opener.

Get In the Kitchen and Brew
For additional inspiration check out the American Homebrewers Association (AHA). The AHA has thousands of recipes online for free. You can also search “easy home brewing recipes”.
It’s also worth considering an AHA membership. Membership opens up a seemingly endless pool of resources, from brewing basics to advanced topics. Just as importantly, membership gets you discounts at many craft breweries.
With the winter coming and forcing more indoor time, now is the perfect time to get your supplies and equipment squared away. Few things make a cold, wintry day more tolerable than turning it into a brew day!

Related Posts
Weekly Growler Fill | National Beer News Roundup... November 28, 2016 | Chelsea Mitchell

Homebrewing: Timing is Everything August 15, 2013 | Philip Joyce

Homebrewing Tips | Cleaning is Sexy June 8, 2016 | Scott Davidson
The Unknown Brewing Co. Releases Garage Ninja Homebrew Collaboration... March 15, 2017 | Danele Bova
Submit a Comment